Tips for glow-up 100-day baby self-photoshoots
We’ll guide you through the essentials and tips for your baby's 100th-day DIY photoshoot. Check everything from your baby's condition to background setup and safety tips all at once.
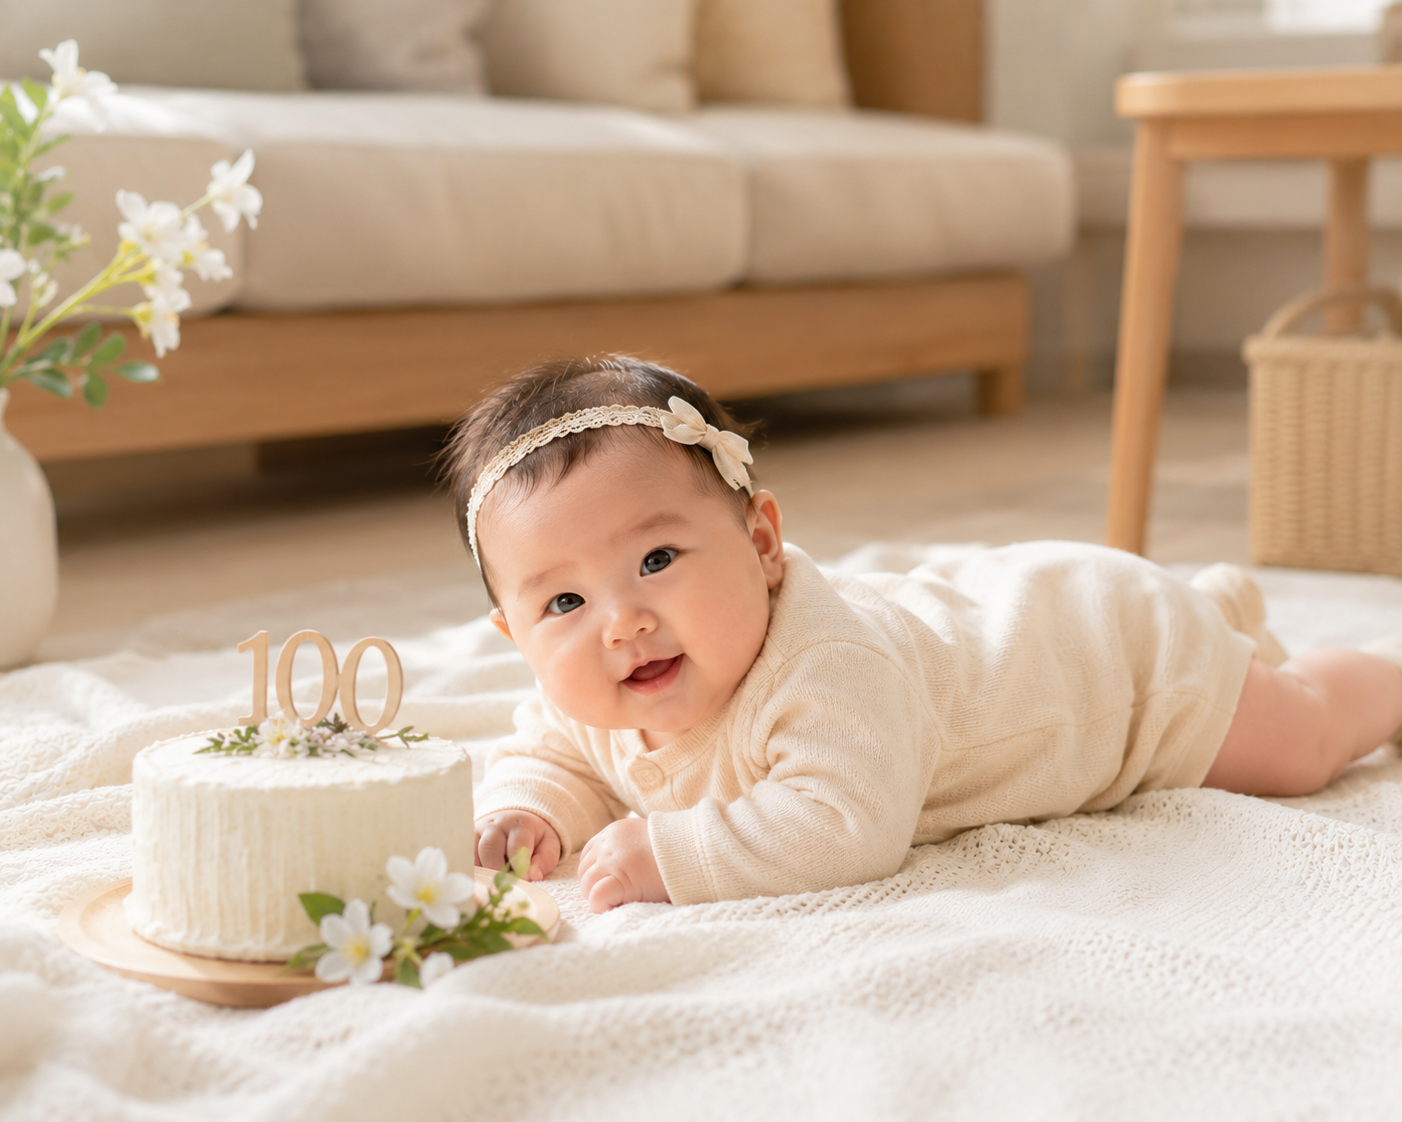
Taking your baby's 100-day photos yourself can feel a bit overwhelming at first. However, you can absolutely capture beautiful photos right at home. The keys to success are your baby's condition, utilizing natural light, and keeping props simple.
By 100 days, babies may start developing stranger anxiety and can feel overwhelmed by unfamiliar places or harsh studio lighting. Shooting at home allows both the baby and parents to capture natural moments in a comfortable, relaxed atmosphere.
When is the best time to shoot?
Choosing a time that aligns with your baby's biological rhythm is the most important factor.
Usually, babies are most active and expressive between 30 minutes to an hour after waking up. During this window, you have a much higher chance of capturing bright smiles and various adorable expressions.
Conversely, it can be difficult to shoot when they are sleepy or hungry, so try to schedule your session based on your baby's usual daily pattern.
The simpler the background and props, the better
You don't need a lot of equipment for a DIY photoshoot.
A white or beige blanket, a few cushions, and wooden blocks are more than enough. If there are too many props, they can distract the focus away from the baby.
Also, since babies start rolling over or moving more around the 100-day mark, it is safer to shoot on a non-slip mat.
Lighting and angles define the mood
The best light is the natural light coming through a window.
Avoid direct sunlight and choose a time when soft, indirect light fills the room. This helps capture natural skin tones without making the baby squint.
When taking photos, try lowering the camera to the baby's eye level. Shooting from their perspective rather than an adult's makes their expressions and eyes look much more vivid and engaging.
Safety is the top priority
The baby's safety is more important than any photo.
Since babies can roll over or lunge, a guardian must always stay close by.
Ensure blocks or toys are large enough so they cannot be swallowed.
Avoid using sharp decorations or fragile props that could break.
Keep the session short, ideally within 15 to 20 minutes.
Pre-shoot Preparation Checklist
Item | Description | Note |
|---|---|---|
Background Mat | Soft blanket, waterproof pad | Plain white recommended |
Props | Blocks, ribbons, plush toys | Size safe from choking hazards |
Lighting Aid | Reflector or white cloth | To supplement window light |
Camera | Smartphone or DSLR | Use image stabilization mode |
Outfit | Cotton material, solid colors | Clothes that allow easy movement |
Recommended Shooting Times
Time | Baby's State | Reason for Recommendation |
|---|---|---|
9–10 AM | Active and less sleepy | Plenty of natural light, great expressions |
2–3 PM | Energetic after a nap | High level of focus |
After 6 PM | Increased fatigue/fuzziness | Not recommended |
Common Mistakes to Avoid
Mistake | Issue | Solution |
|---|---|---|
Using strong flash | Glaring, startles the baby | Utilize natural light |
Shooting for too long | Fatigue, crying | Finish within 15–20 mins |
Busy backgrounds | Distracts attention | Keep the background simple |
When to seek professional help
If your baby cries continuously or seems exceptionally uncomfortable in certain positions during the shoot, we recommend consulting a pediatrician.
Additionally, if you successfully took the photos but find editing or making an album difficult, seeking help from a professional photo service like Babyfolio is a great option.
Frequently Asked Questions (FAQ)
Q1. My baby won't stop crying during the shoot. What should I do?
If your baby starts crying, don't force it—pick them up and comfort them immediately. You can try again once they've calmed down, or if they aren't feeling well, it's best to postpone to another day.
Q2. Do I need to prepare a lot of props?
Not at all. In fact, using just 2–3 props helps create a cleaner photo. Number blocks or a favorite comfort toy are plenty.
Q3. Can I take the photos with a smartphone?
Yes, absolutely. Using your smartphone's "Portrait" mode and "Burst" mode can help you capture many natural expressions easily.
Q4. How should I edit the photos?
Simple adjustments to brightness and contrast are usually enough. Maintaining natural colors rather than using heavy filters is the secret to creating photos that you won't get tired of looking at for years to come.
Summary
The best way to get beautiful 100-day photos at home is to utilize natural light, use a simple background, ensure your baby is in a good mood, and finish the session quickly within 15–20 minutes.